After a fresh installation of the new OS Windows 11 I had to re-setup oh-my-posh for Windows terminal. There are already a lot of descriptions out there ‒ one of the best from Scott Hanselman ‒ so this should only be a little reminder for me and not an extensive description.
Please note: this description of for version 3 of o-my-posh!
Install correct font
Because oh-my-posh uses font icons, it’s important to install a corresponding font from NERD FONTS. In my case it’s Caskaydia Cove Nerd Font.
You can also install fonts by starting a terminal as administration and using this command:
oh-my-posh font install
Setup oh-my-posh
1. Open Windows terminal and ensure that PowerShell is the default shell
2. Install oh-my-posh
winget install JanDeDobbeleer.OhMyPosh -s winget3. Install Git support (posh-git)
Install-Module posh-git -Scope CurrentUser -Force4. Edit PowerShell Profile
code $PROFILE
# or notepad if you don't have installed VS Code
notepad $PROFILE
Add the following content:
oh-my-posh init pwsh | Invoke-Expression
$env:POSH_GIT_ENABLED = $true
5. Press CTRL + SHIFT + , for editing the Windows terminal settings in order to setup the correct font. Under profiles section you can find the defaults section. There you have to setup the font face as the following:
{
"profiles":
{
"defaults":
{
"font":
{
"face": "CaskaydiaCove Nerd Font"
},
"useAtlasEngine": true
}
}
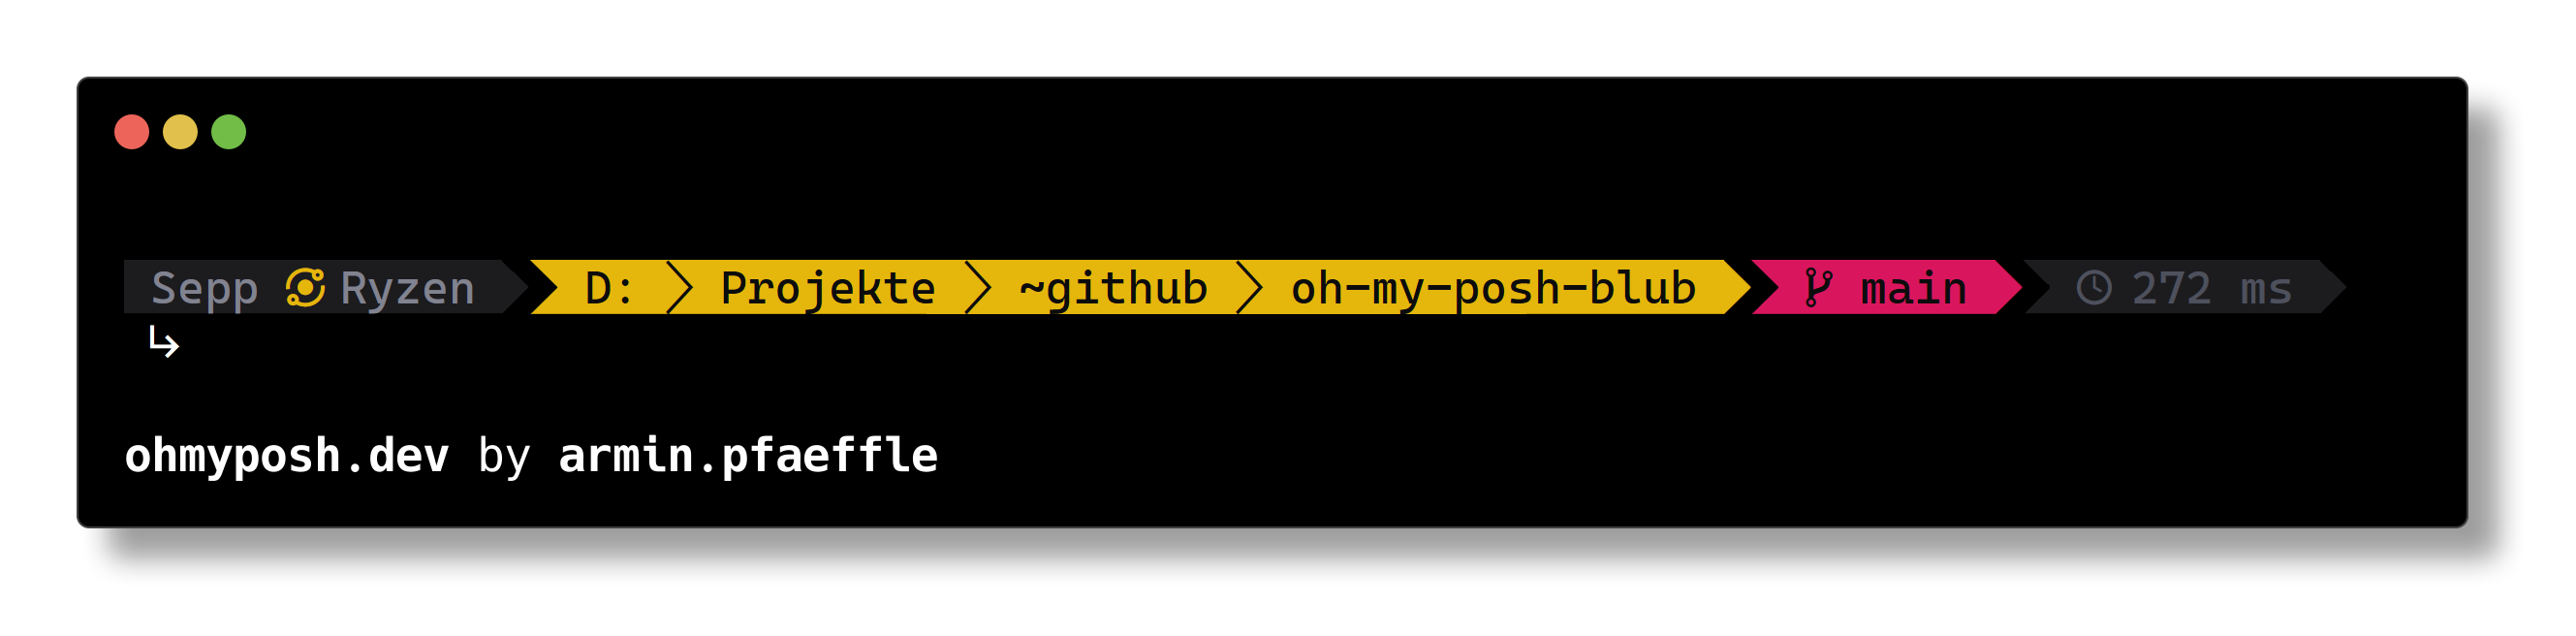
}Using my theme blub ;)
- Download the JSON
blub.omp.jsonand save it anywhere on your PC - Modify the configuration via
code $PROFILE— you have to setup the correct path here
oh-my-posh init pwsh --config '~/Documents/PowerShell/blub.omp.json' | Invoke-Expression
$env:POSH_GIT_ENABLED = $true
3. After saving and restarting the terminal, the theme should be applied correctly.